
Since our last update in March, we have been progressing almost exclusively on the tender chassis construction.
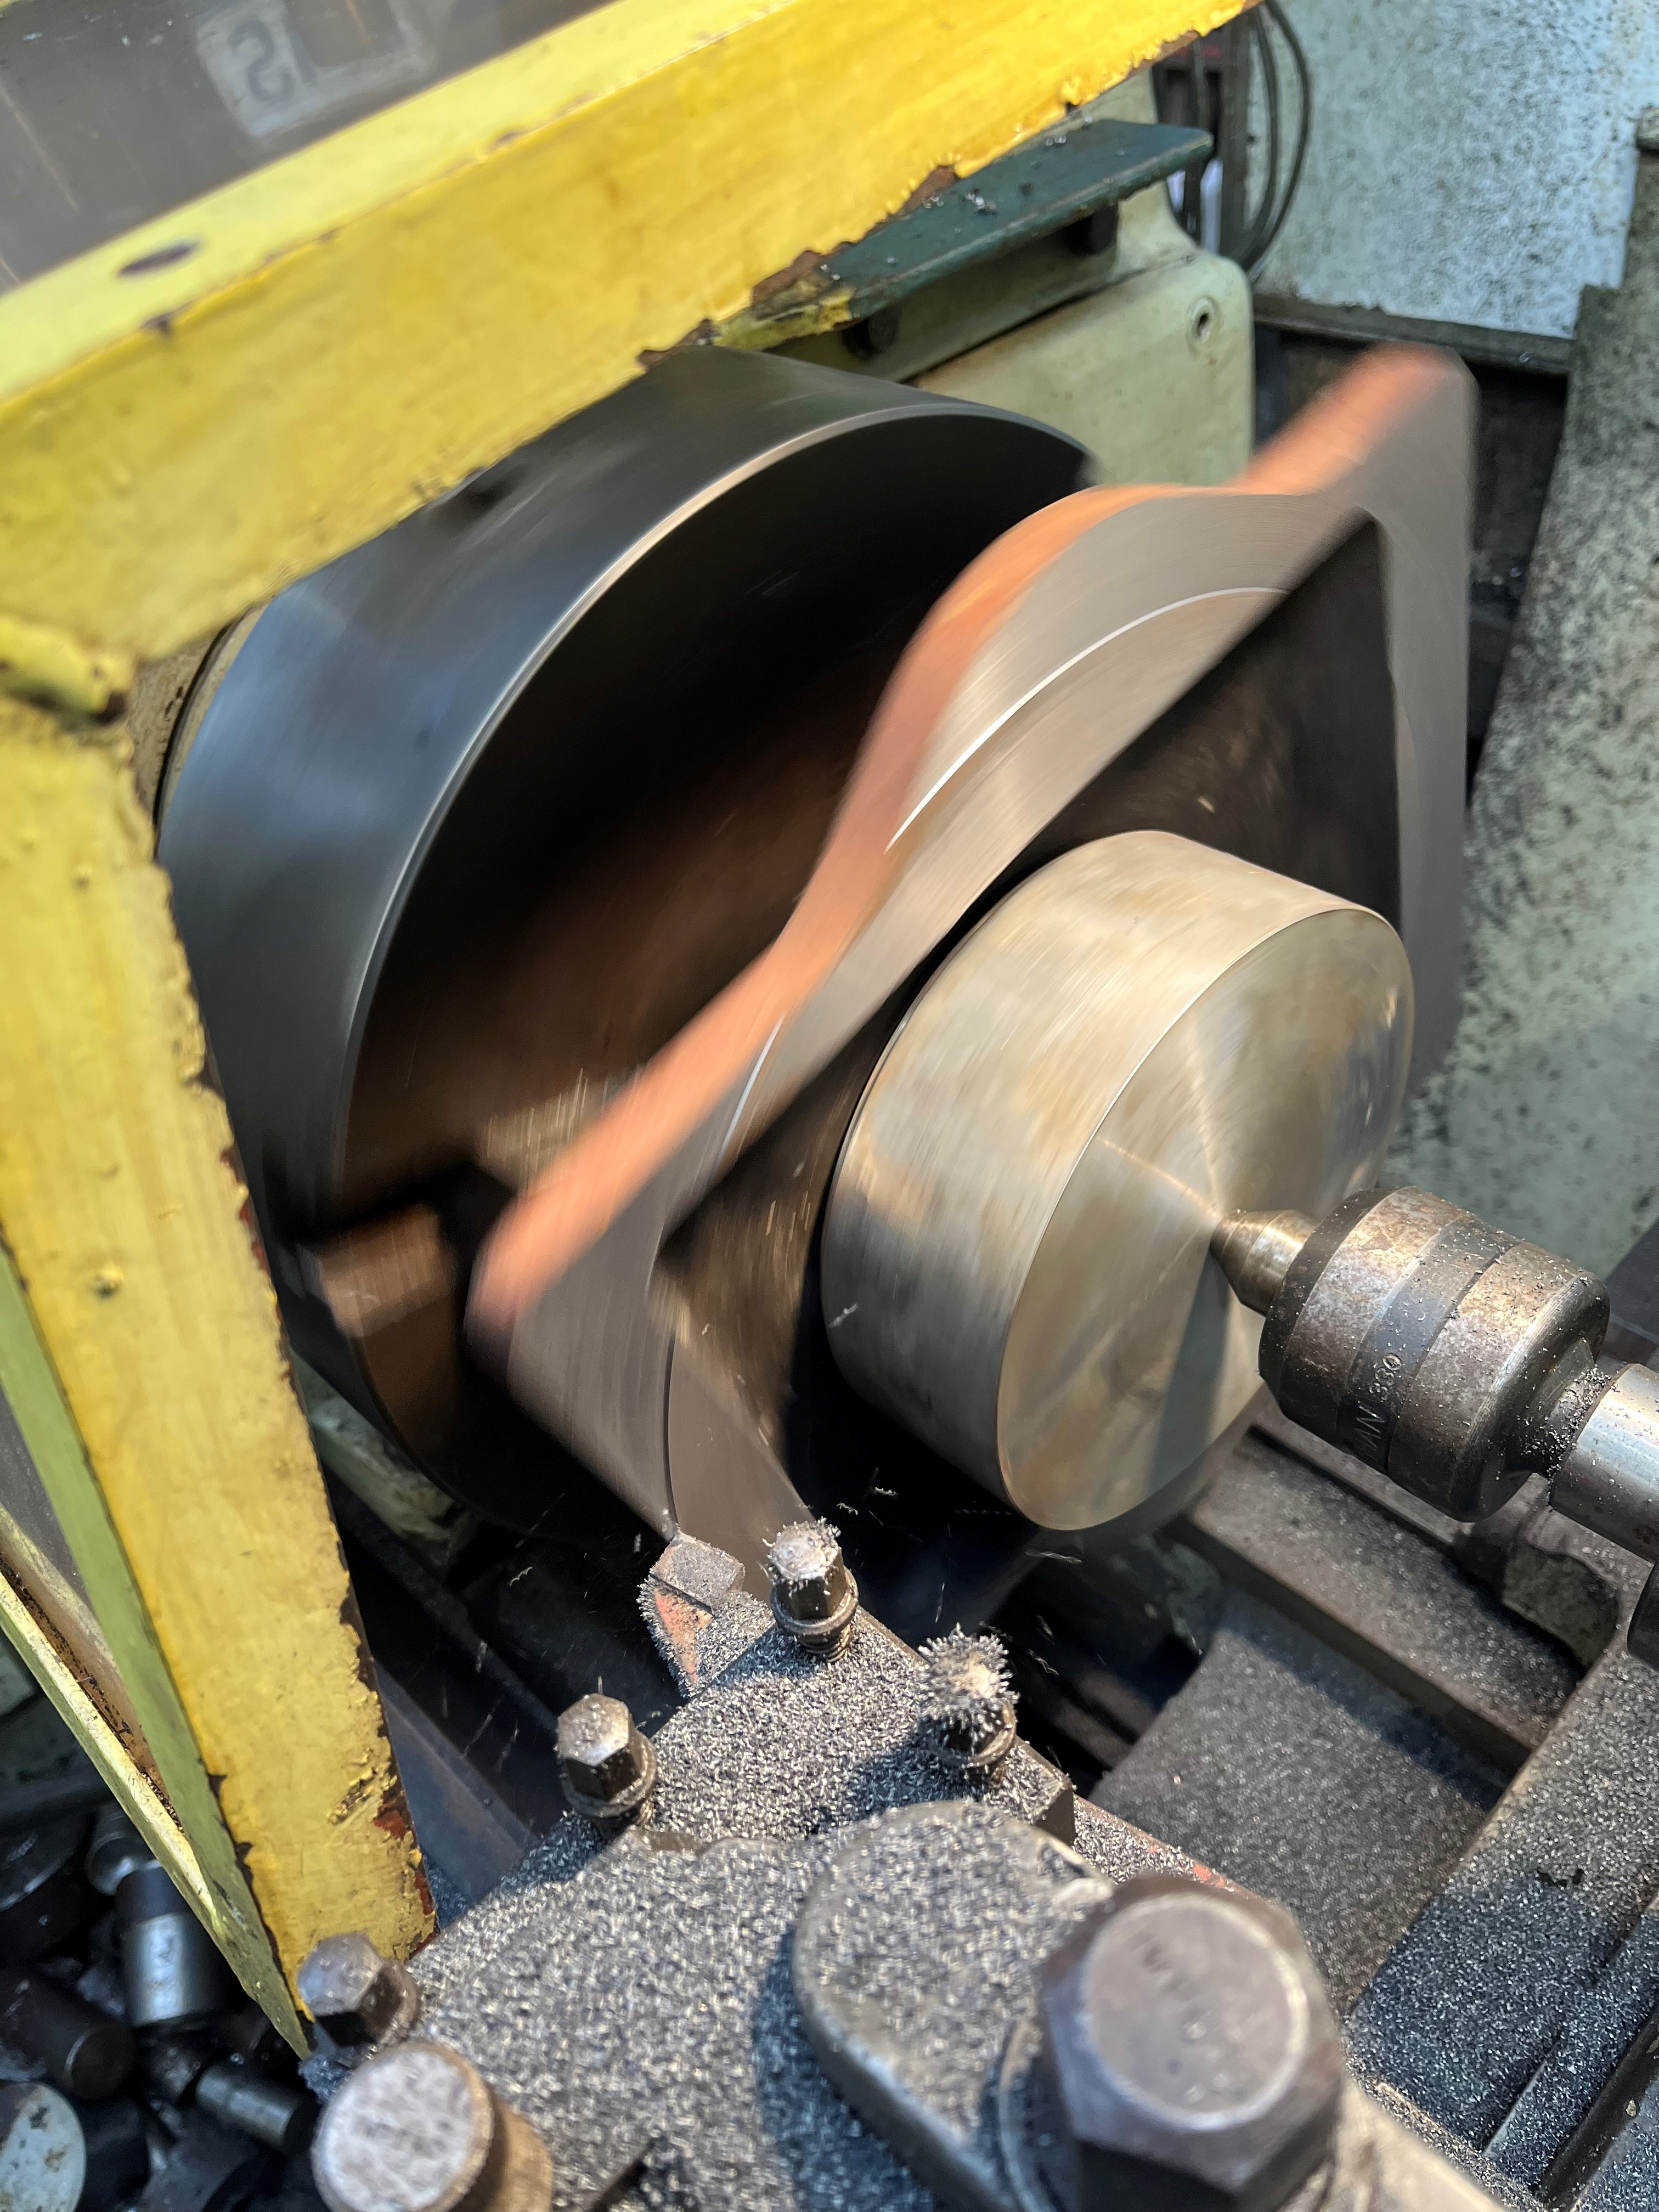
This takes the form of repairing the brake gear – by weld build up to remove worn areas, followed by re-machining to “as new” condition. This includes re-boring holes – most of which have some ovality – and making new bushes, which are then pressed into the now round holes. This is time consuming yet important work, as we want to ensure that the brake system is in tolerance and thus will work correctly when the time comes.


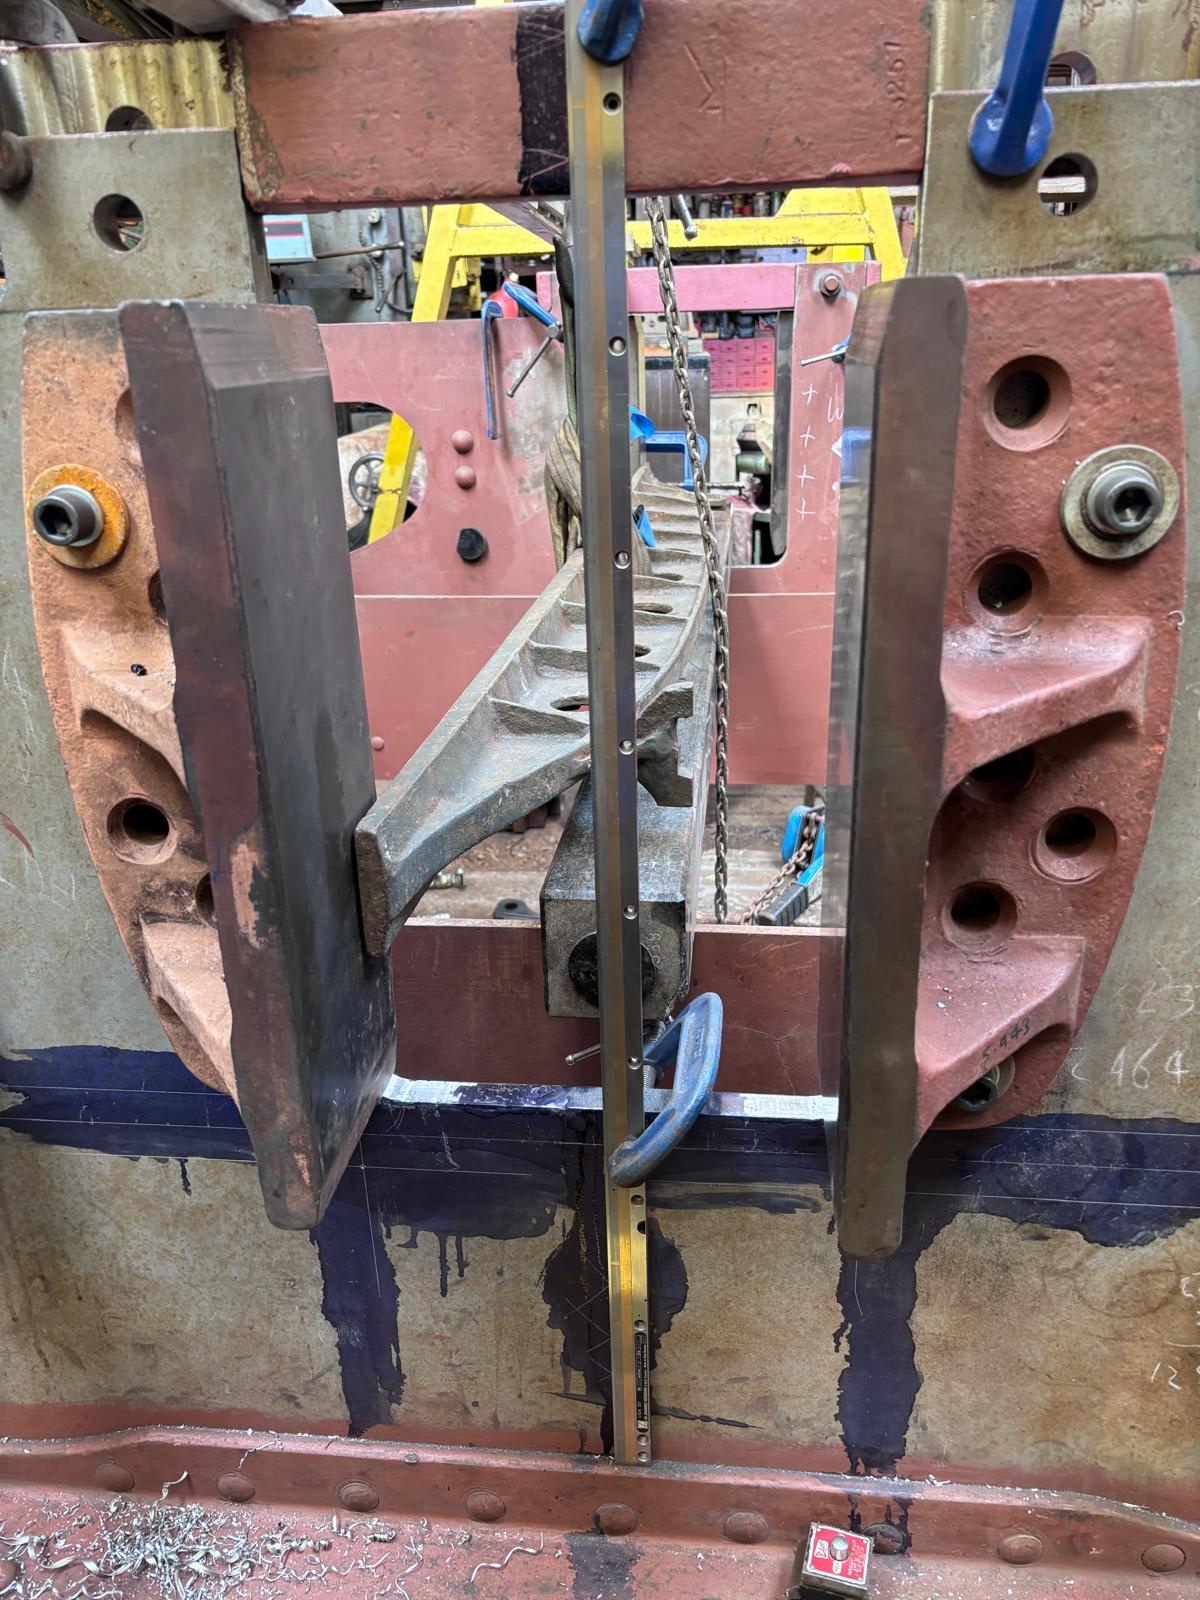
As well as working on the brake system components, the other area of major activity is the installation of the hornguides on the chassis. Again, this takes time to get right, as we need to ensure that the alignment across the frames is as good as possible, and that the back to back dimensions of the horns are on ‘minimum tolerance’ so that we future-proof the chassis against wear, and prolong the time taken before major overhaul work is needed in the future.
Following completion of the machining of the axlebox front faces, we have also finished machining the axlebox covers, which will be one of the more visible components on the new tender chassis. These are now ready to fit, and manufacture of the final mounting bolts is ongoing. Given that the loco was built in 1925, we generally like to use pre-war bolt head sizes, which were larger than the wartime and post-war versions (the head size was reduced to save metal), and which look a little bit more appropriate and substantial.


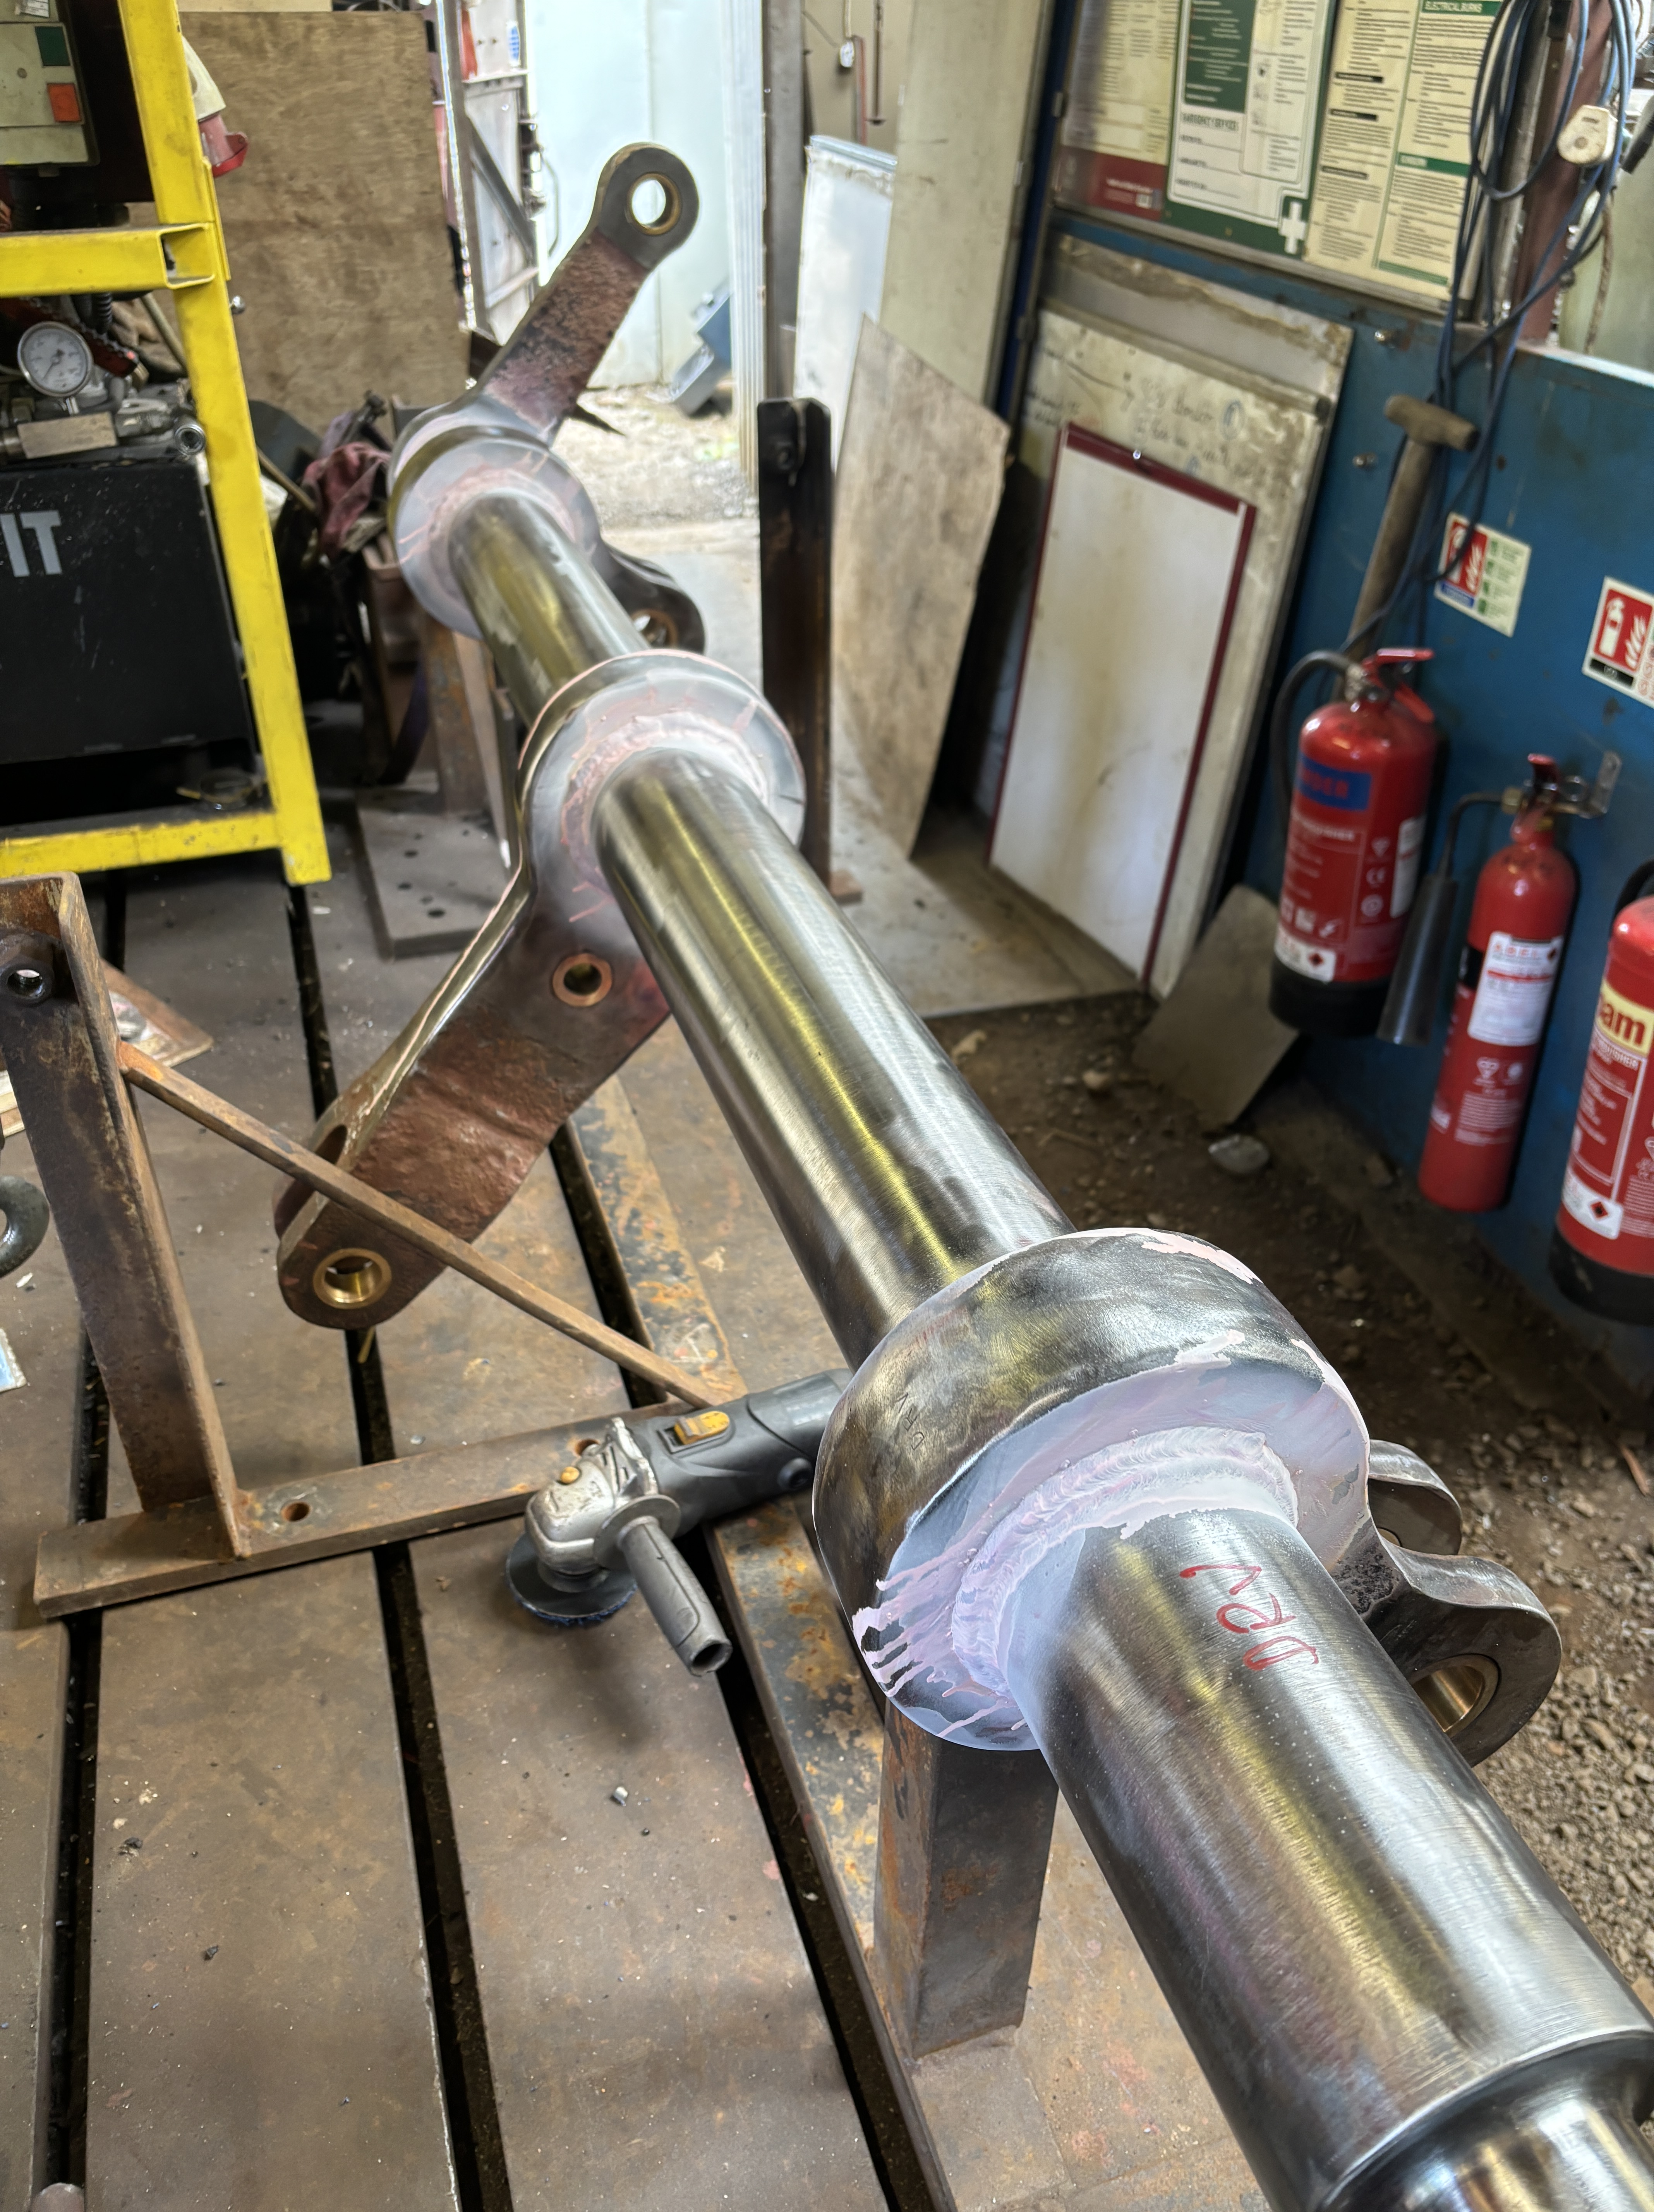
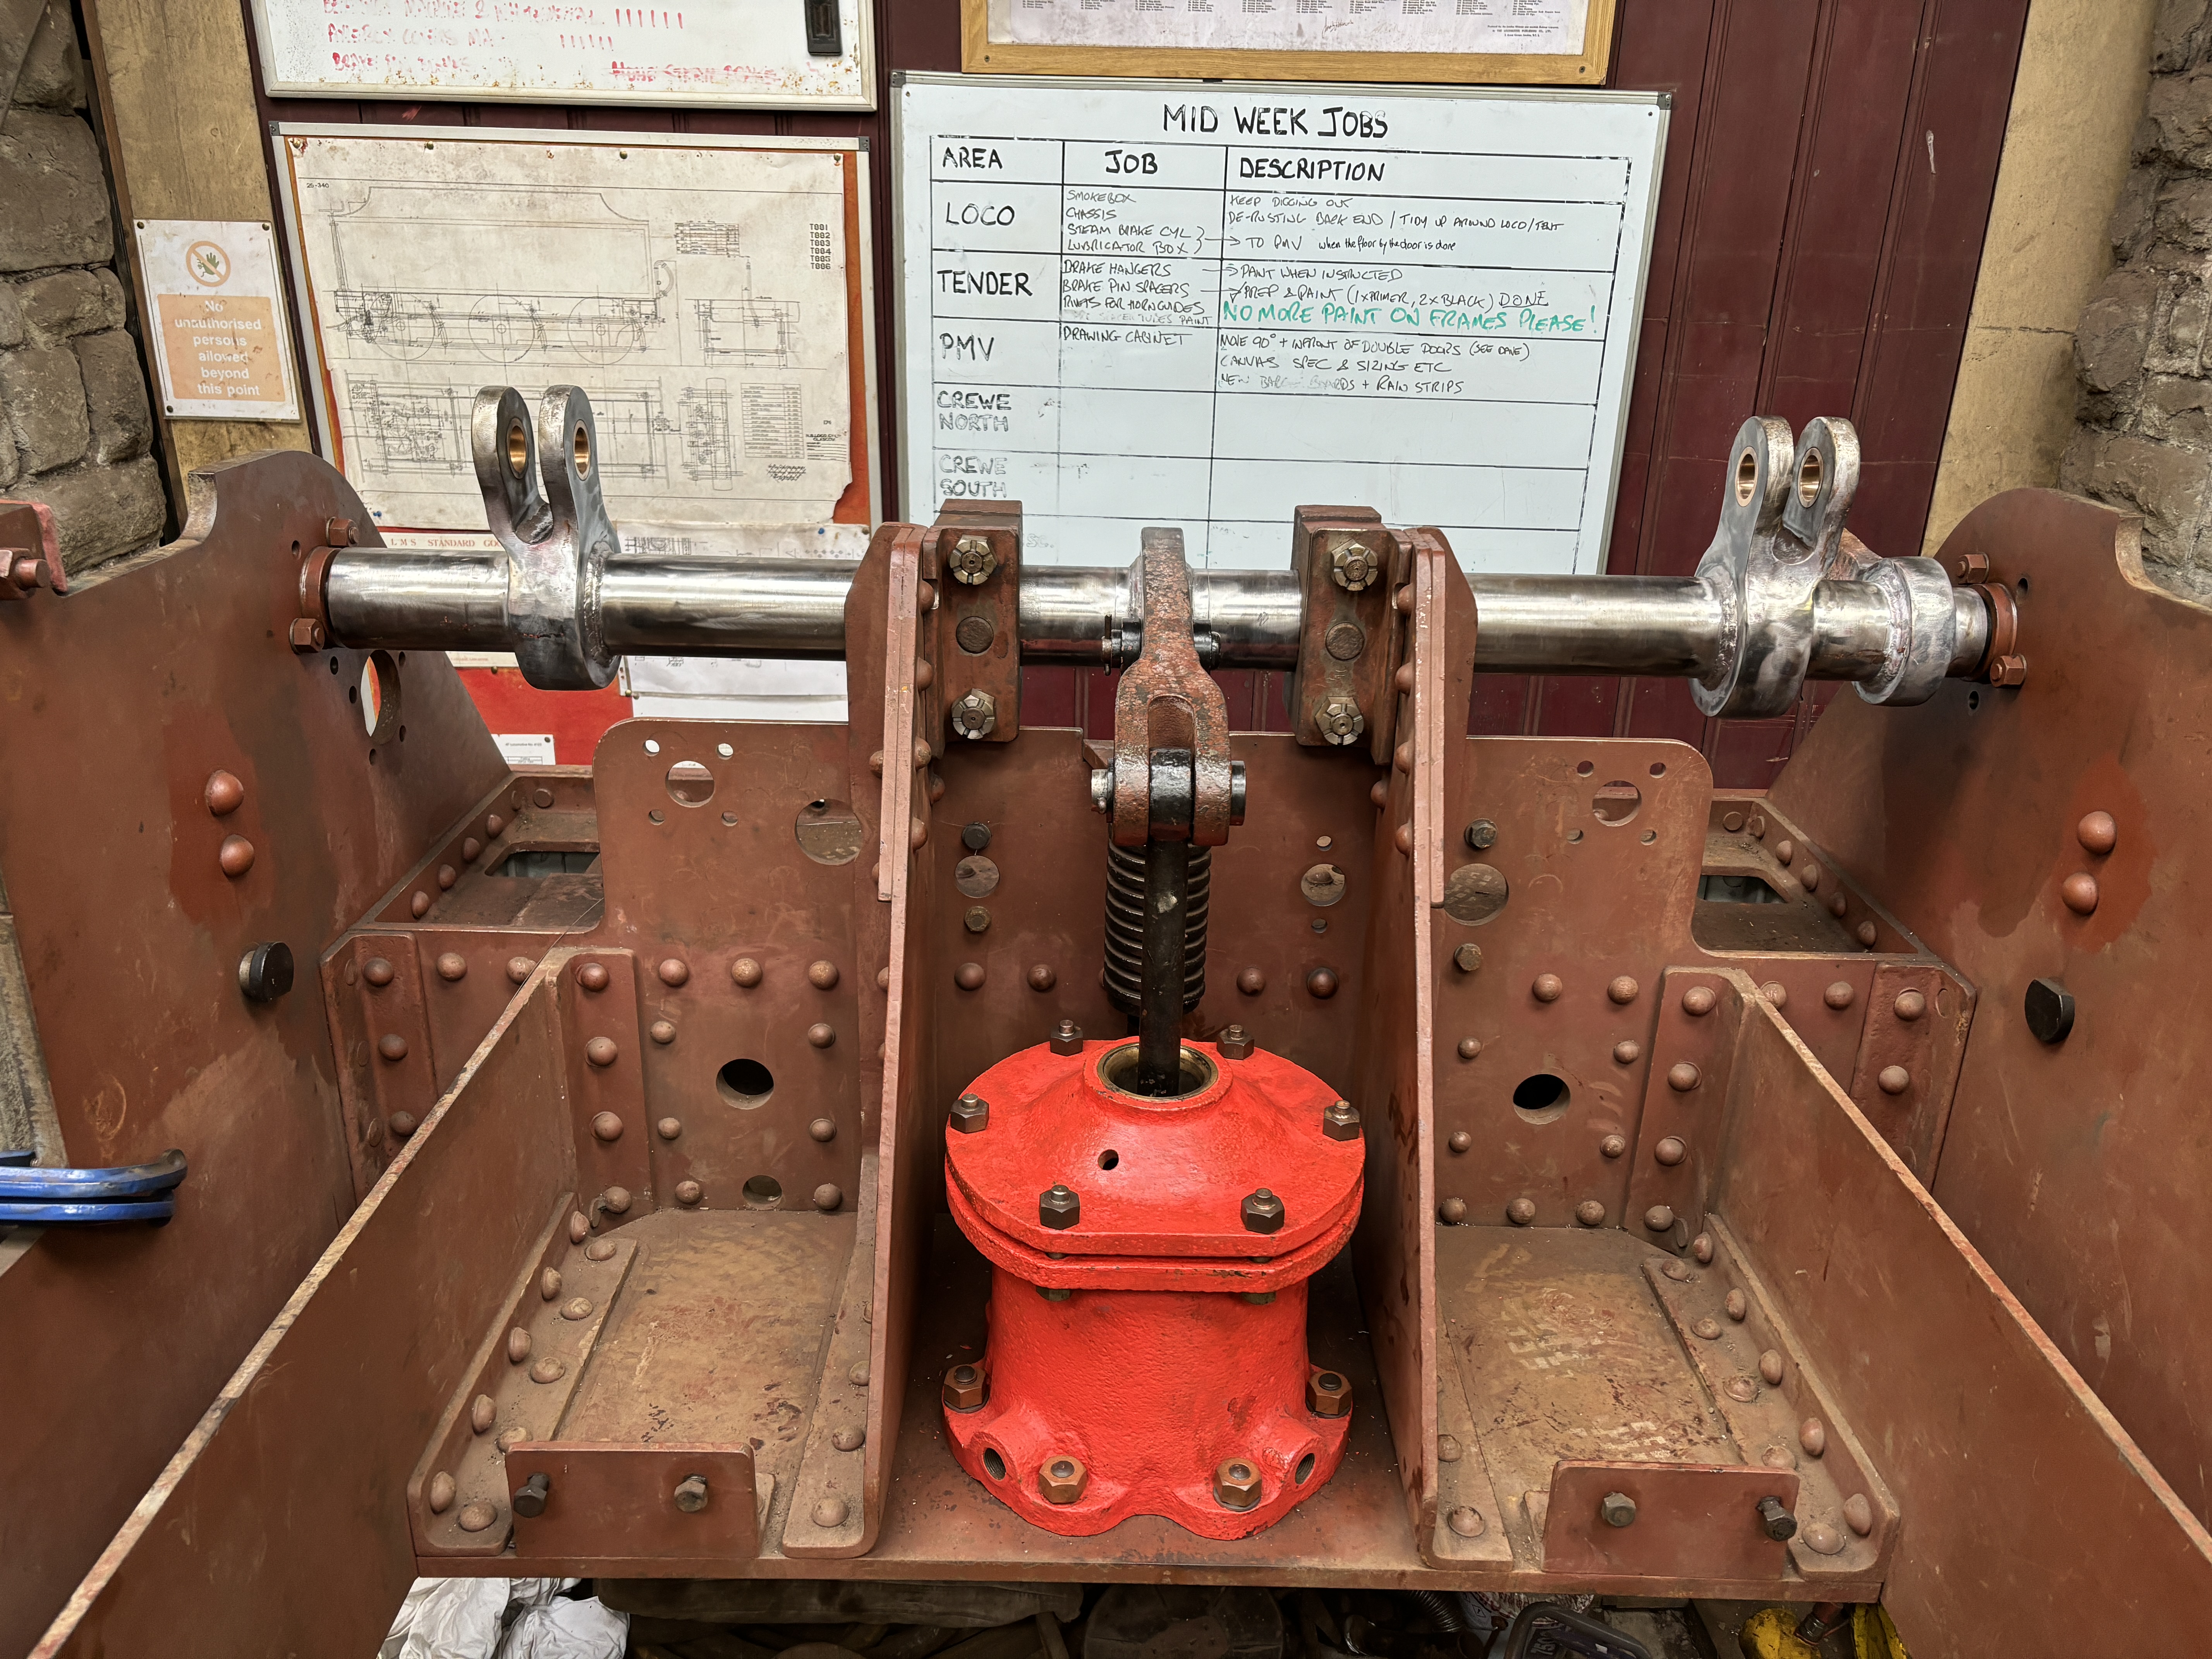
Regular followers of our website and social media pages will have noted the ongoing production of a new tender brake shaft, and finally this has now been finished. Following completion of the final welds, they were subjected to 100% non destructive examination by dye penetrant testing, with no defects found. The shaft has been trial fitted to the front end of the chassis and fits perfectly. After installation of the steam brake piston, the whole arrangement was connected up and tested on air – it works perfectly and is ready for final adjustment and set-up once the rest of the brake gear is completed, which hopefully won’t be too long now.
Away from the restoration work, our midweek team recently ran our sales stand as part of the Avon Valley Railway’s 50th anniversary gala, which brought in some much-needed income from sales of books, models, memorabilia and other 4123 items.

If you’d like to make a donation and help to get 4123 running again, then you can do so here.
And finally, another reminder that the best place to check up on the latest news on the restoration is on our social media feeds which are updated regularly and have lots of information and pictures of the restoration:
Instagram: https://www.instagram.com/4123lms/?next=%2F
Flikr: https://www.flickr.com/photos/4123lms/
Facebook / Meta: https://www.facebook.com/groups/418496428955719/
Twitter / X : https://twitter.com/4123lms?lang=en
These are updated much more regularly than this website, so why not check them out.
